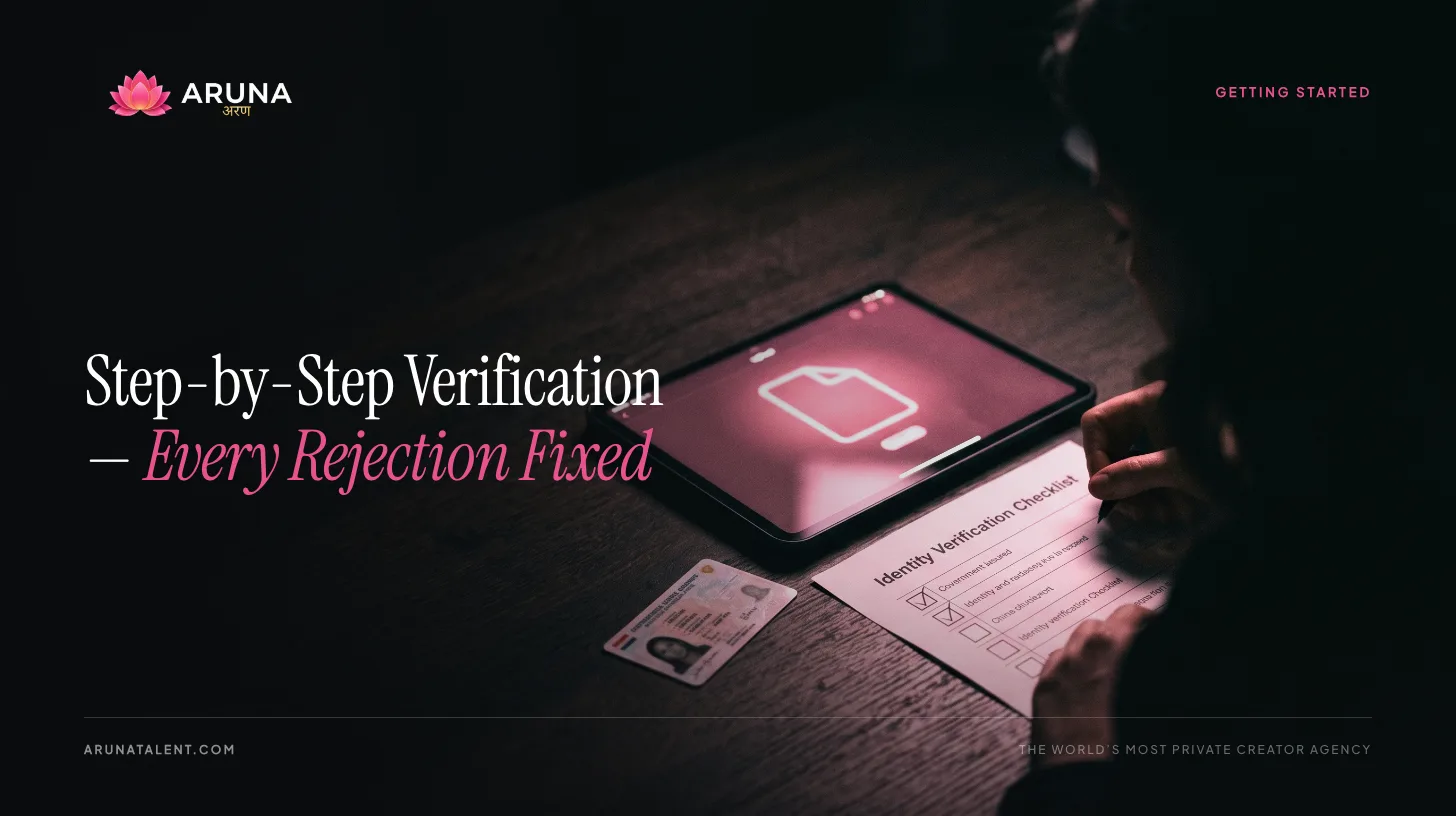
OnlyFans Verification: Step-by-Step Guide + Every Rejection Fix
Aruna Talent Team
Creator economy experts · $10M+ annually total creator revenue
OnlyFans verification is straightforward when you know exactly what’s required. It trips up a disproportionate number of new creators not because the process is complicated, but because the documentation requirements are specific and the rejection reasons aren’t always clearly explained.
This guide covers the complete verification process, every common rejection reason with fixes, what to do while you’re waiting for approval, and the tax form step that catches almost every new creator off guard.
If you haven’t read our beginner’s guide to OnlyFans or the how to start an OnlyFans walkthrough, start there, because verification is one step in a broader setup process.
What OnlyFans Actually Verifies
OnlyFans verifies two things:
- Your identity: that you are who you say you are and that you are at least 18 years old
- Your right to earn on the platform, which in the U.S. means tax compliance documentation
Both steps are required before you can accept payments. Understanding what OnlyFans is checking helps you submit clean documentation on the first attempt.
Accepted Documents
OnlyFans accepts government-issued photo identification that includes your full legal name, date of birth, and photo. Accepted documents include:
- Driver’s license (front and back required in most regions)
- Passport (photo page)
- National identity card
- Government-issued ID card
Requirements for all documents:
- Must not be expired
- Must be the original document (not a photocopy or digital image of the document)
- Must show full legal name exactly as it appears on your payout account
- Must clearly show your date of birth
- Must include a photo
Step-by-Step: The Verification Submission Process
Step 1: Access the Verification Portal
From your OnlyFans dashboard, navigate to your profile settings, then to “Identity Verification.” This will open the verification portal (powered by a third-party KYC provider, typically Persona or a similar service).
Step 2: Take Your ID Photo
This is where most rejections originate. Follow these requirements exactly:
- Lighting. The ID must be fully illuminated with no shadows. Hold it under a lamp or in natural light, not in dim room lighting.
- Focus. Make sure every line of text on the ID is sharp. Tap to focus on your phone before taking the shot. Blur on any part of the ID will get it rejected.
- Angle. Hold the ID flat, parallel to the camera lens. Angled shots create perspective distortion that obscures text.
- Full document in frame. All four corners of the ID must be visible. No cropping.
- No glare. Tilt the ID slightly if the camera flash or ambient light is creating a glare spot over text. Glare over your name, DOB, or photo is an automatic rejection.
- Driver’s license: Submit both front and back when prompted.
Step 3: The Selfie-with-ID Photo
You’ll be asked to take a photo of yourself holding your ID next to your face. This step confirms that the ID belongs to you.
Requirements:
- Your full face must be clearly visible: no sunglasses, hats, or anything obscuring your face
- The ID in the photo must match the ID you submitted in Step 2
- Both your face and the ID text must be in focus simultaneously (this requires decent ambient light)
- The selfie should be taken in well-lit conditions; poor lighting causes face recognition issues
Step 4: Tax Documentation (U.S. Creators)
After identity verification, U.S.-based creators are prompted to complete a W-9 form. This step surprises most new creators because OnlyFans doesn’t prominently advertise it before you start the process.
The W-9 requires:
- Your legal name (must match your ID)
- Your address
- Your taxpayer identification number: this is your Social Security Number for individuals, or your EIN if you’ve formed an LLC or other business entity
- Your tax classification
Non-U.S. creators complete a W-8BEN instead, which certifies foreign status and, if applicable, claims treaty benefits that reduce withholding rates.
Your tax information is not shared publicly or visible to subscribers. It is submitted to OnlyFans for IRS reporting compliance and stored securely.
Step 5: Wait for Review
After submission you’ll see a confirmation screen. OnlyFans sends an email notification when a decision is made. Standard processing is 24-72 hours.
Every Common Rejection Reason, and How to Fix It
Blurry ID Photo
What happened: The camera didn’t focus properly on the ID document, or the photo was taken in low light that forced the camera to use a slower shutter speed (causing motion blur).
Fix: Retake in bright light. Hold the ID still, tap the screen on the ID to lock focus before shooting. Check that every line of text is sharp before submitting. If you’re struggling with a phone camera, clean the lens; fingerprints cause significant blur.
Glare Over Text or Photo
What happened: Flash or ambient light is reflecting off the laminate surface of the ID and obscuring information.
Fix: Turn off your camera flash. Tilt the ID at a slight angle, just a few degrees, to redirect the reflection away from the camera. Shoot near a window with the ID angled away from the window to avoid reflection.
Name Mismatch With Bank Account
What happened: The legal name on your ID doesn’t match the name on your payout bank account or payment method.
Fix: Update your bank account or payment method to match the name on your ID before resubmitting. If you’ve recently changed your legal name, use whichever ID document matches your current bank account.
VPN Active During Submission
What happened: OnlyFans’s verification provider flagged your submission because your IP address (masked by a VPN) doesn’t match your stated country of residence. This is a fraud prevention trigger.
Fix: Disable your VPN before starting the verification process. Once verification is complete, you can re-enable it. This is one of the few situations where turning off your VPN during an OnlyFans session is appropriate.
Under-18 Appearance
What happened: A human reviewer determined that you may appear to be under 18, regardless of what your ID shows.
Fix: Contact OnlyFans support directly. Don’t simply resubmit the same materials. Support will guide you through supplemental documentation, which typically means a clearer selfie-with-ID and sometimes a handwritten note with the current date. This review is done by a human and responds to better documentation.
Expired ID
What happened: Your ID’s expiration date has passed.
Fix: You need to submit a current, valid government ID. If your ID is expired and you’re waiting on a replacement, you’ll need to wait for the new document before verifying.
Partial ID in Frame
What happened: One or more corners of your ID were outside the camera frame in the submitted photo.
Fix: Move the ID further from the camera to get all four corners in frame, or use your phone’s wide angle lens. Confirm all corners are visible before submitting.
Low-Quality Selfie-with-ID
What happened: Either your face, the ID, or both are not clearly visible in the verification selfie: too dark, too blurry, or the ID is held at an angle that makes it unreadable.
Fix: Take the selfie in good natural light or under a bright lamp. Hold the ID at arm’s length from your face so both your face and the ID are in the same focal plane and both remain in focus. Make sure the ID text is readable.
Processing Times and Escalation
Standard: 24-72 hours for the majority of submissions.
Extended: Up to 5 business days during high-volume periods (weekends, holidays, and any period following a major OnlyFans announcement that drives a surge in new applications).
Escalation: If 5 business days have passed with no decision, contact OnlyFans support through the Help Center. Provide your account email and submission date. Do not resubmit your verification without guidance from support; multiple submissions in queue create delays.
What to Do While You Wait
The wait for verification approval is not dead time. Use it:
Set up your profile completely. Write your bio, set your display name, and choose your profile and header photos. Have this done before you’re approved so you go live ready to convert visitors.
Plan your pricing. Research what other creators in your niche charge for subscriptions, PPV content, and custom requests. Decide on your launch price point. Read our tips for beginners for guidance on launch pricing strategy.
Batch your first two weeks of content. New subscribers make their biggest judgments in the first 48-72 hours. Have a content library ready to post immediately on approval, don’t launch with an empty page.
Set up your creator social media accounts. Build your promotion infrastructure while you wait. Instagram, TikTok, Reddit, and Twitter/X are the primary traffic channels.
Write your welcome message. Your welcome DM to new subscribers is your first direct touchpoint. Draft it now.
After Approval
When you receive the approval notification, the final steps before going live:
- Set your subscription price in account settings
- Add your payout bank account or payment method if you haven’t already (name must match your ID)
- Post at least 5-10 pieces of content before promoting your page, subscribers who arrive to an empty page don’t convert
- Activate your welcome message automation
- Start promoting through your social channels
Verification is the gate. Everything past it is execution.
If you want a structured launch plan with experienced support, Aruna Talent has taken creators from zero to $20K in their first week. The first step is applying to work with us.
Ready to take your content career seriously?
Apply in 60 seconds. No upfront cost. No obligation. Not ready? The free Creator Kit gets you started on your own terms.


60+ creators · $10M+ annually total revenue
You Already Know What's Possible. Now Find Out If It's Possible for You.
$20K+ your first week, that's our target, backed by 60+ launches. No followers needed. Complete anonymity. 100 dedicated team members behind your growth. The only question is whether you apply.
See If You Qualify, 60 Seconds →No upfront cost · No obligation
How Aruna Can Help